
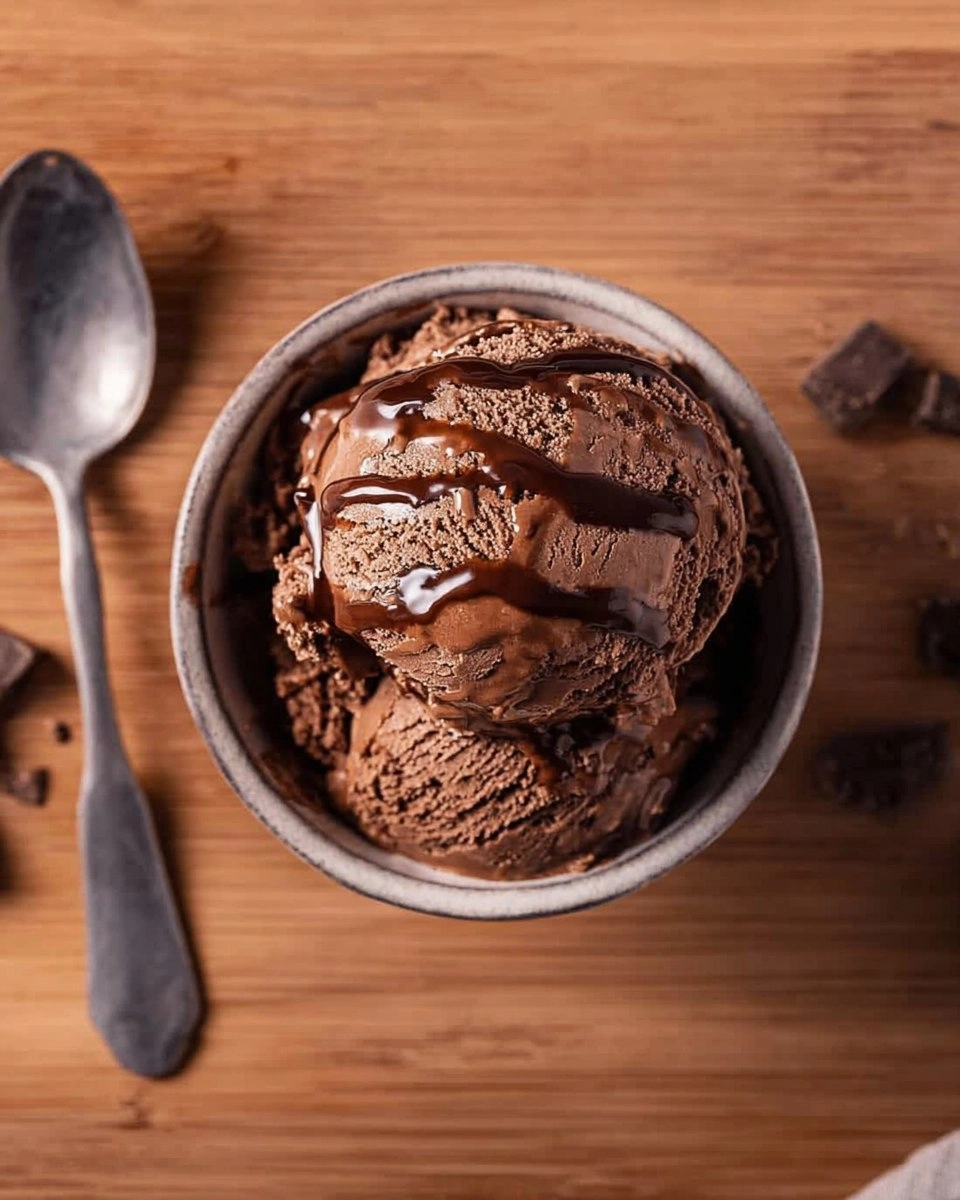
Nothing quite hits the spot like a creamy, rich scoop of homemade chocolate ice cream. Chocolate Ice Cream Recipe combines the deep, luscious flavor of chocolate with a perfectly smooth texture that will have you forgetting all about store-bought varieties. This is not just any ice cream; it’s a labor of love that brings together the delightful richness of heavy cream, whole milk, and high-quality chocolate. Whether you’re sharing it with family and friends or sneaking a scoop late at night, this recipe is sure to bring a smile to your face.
When I first decided to make homemade ice cream, I was a bit intimidated. The process felt complex, but soon enough, I realized how rewarding it is to create something so delicious from scratch. The joy of seeing the mixture churn into velvety ice cream is unparalleled, and the taste? Absolutely divine. Plus, being able to customize your own flavors and mix-ins adds an extra layer of fun. Trust me, once you try this chocolate ice cream recipe, you’ll never want to go back to the freezer aisle.
Why You’ll Love This Recipe
- Simple & Quick: With just a few ingredients and some basic steps, you can whip up this ice cream in no time.
- Irresistible Flavor: The combination of dark chocolate and cream creates a deeply satisfying treat that melts in your mouth.
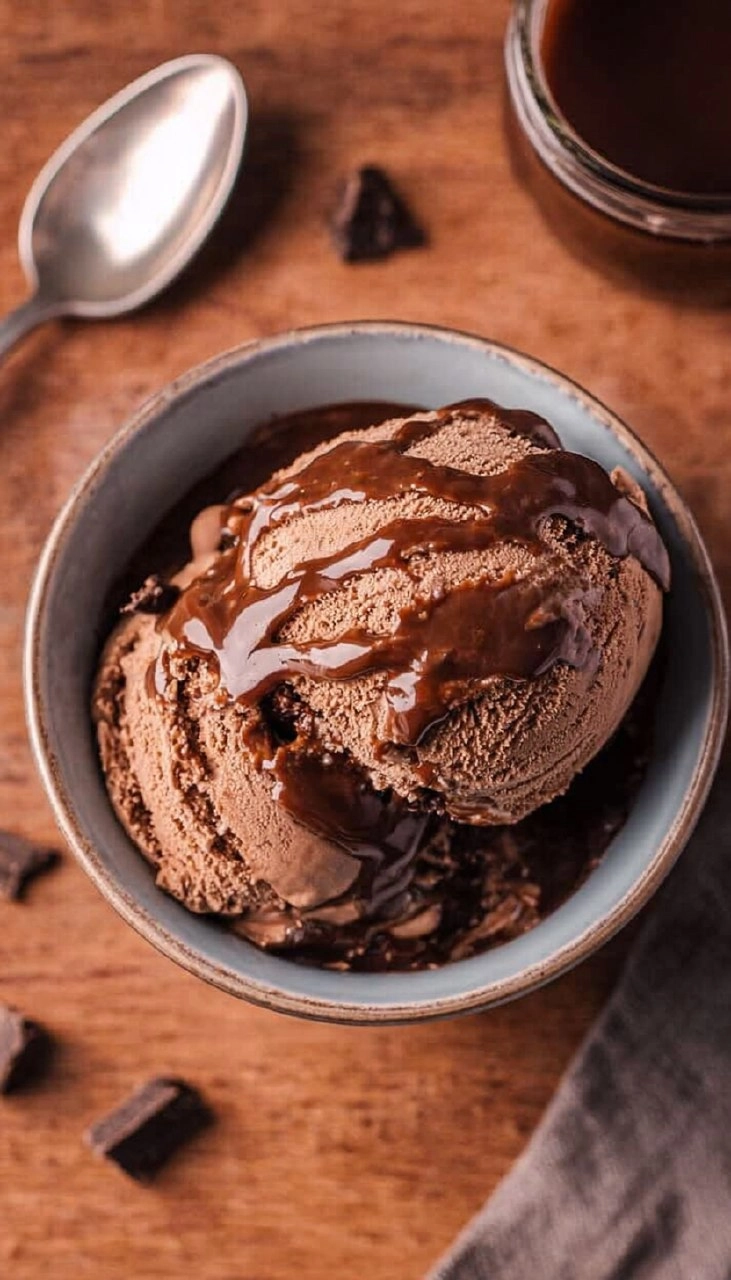
- Eye-Catching Appeal: Serving a scoop of this glossy, luscious ice cream will impress anyone.
- Flexible Serving: Perfect for hot summer days, birthday parties, or as a late-night treat.
- Diet-Friendly Options: You can easily adapt it using dairy-free or low-sugar ingredients if needed.
Ingredients You’ll Need
- 1½ cups heavy cream: This is essential for that creamy texture and rich flavor; opt for high-fat cream for the best results.
- 1½ cups whole milk: Provides the perfect balance to the richness of the heavy cream; you can substitute with 2% milk if preferred.
- ½ cup granulated sugar: Sweetens the mixture without overpowering the chocolate; for a different flavor, brown sugar could work too.
- 3 tablespoons cocoa powder: Adds a deep chocolate flavor; make sure to use unsweetened cocoa powder.
- 2 tablespoons light corn syrup: Helps with the scoopability of the ice cream, preventing it from becoming too hard; you can omit it if desired.
- 1/4 teaspoon fine sea salt: Enhances the sweetness and flavors; don’t skip this step!
- 4 large egg yolks: Creates a richer and creamier custard base; using fresh, high-quality eggs is essential.
- 1 tablespoon vanilla extract: A must-have for that unbeatable flavor profile; use pure vanilla extract for the best taste.
- 4 oz dark chocolate, chopped: The star ingredient for your chocolate flavor; choose a high-quality chocolate that you love to eat.
- ½ cup hot fudge sauce (optional): For a delightful fudge swirl, this can be added for extra decadence.
How to Make Chocolate Ice Cream Recipe
- Heat the Dairy: In a medium saucepan, combine 1½ cups heavy cream, 1½ cups whole milk, ½ cup granulated sugar, 3 tablespoons cocoa powder, 2 tablespoons light corn syrup, and 1/4 teaspoon fine sea salt. Heat over medium, stirring occasionally, until the mixture is steaming but not boiling—this helps dissolve all the sugar and cocoa properly.
- Whisk the Yolks: In a separate bowl, whisk 4 large egg yolks until they are smooth and a little pale. This step is crucial for achieving that silky custard texture.
- Melt the Chocolate: In another small bowl, add 4 oz of chopped dark chocolate. Pour a large ladleful of the hot milk mixture over the chocolate and allow it to sit for a minute to melt. This ensures the chocolate blends in perfectly without seizing.
- Temper the Eggs: Slowly drizzle a ladleful of the hot milk mixture into the egg yolks while whisking constantly to avoid scrambling the eggs. Repeat this process with several more spoonfuls of the hot cream. Then pour the tempered yolk mixture back into the saucepan and continue cooking for about 30 seconds more, or until the mixture thickens slightly and reaches a temperature of 170-175 degrees F.
- Combine Ingredients: Stir in the melted chocolate and 1 tablespoon vanilla extract into the custard mixture. For a smoother consistency, you can strain the mixture through a fine-mesh sieve into a clean container to remove any curdled bits.
- Chill the Mixture: Place the custard in the refrigerator and chill for at least 4 hours, or ideally overnight. Chilling seriously enhances the flavors and texture of your ice cream.
- Churn the Custard: Once the custard is completely chilled, churn it in your ice cream maker according to the manufacturer’s instructions. This process incorporates air and creates that glorious creamy texture.
- Fudge Swirl and Freeze: Transfer half of the ice cream mixture to your ice cream container. Drizzle 3 tablespoons of warmed hot fudge sauce over the ice cream, then use a knife to gently swirl it in. Top with the remaining ice cream and add another layer of fudge drizzle on top. Freeze for at least 4 hours, until firm and scoopable.
- Serve: For a truly indulgent experience, serve your chocolate ice cream in homemade waffle cones. There’s something special about that combination!
Storing & Reheating
To store your homemade chocolate ice cream, place it in an airtight container and keep it in the freezer for up to three months. For the best flavor and texture, avoid leaving it out at room temperature for too long. If it gets too hard, simply let it sit out for a few minutes before scooping to soften. The flavor will be best after a day or two, as this allows the chocolate to fully develop.
Chef’s Helpful Tips
- Avoid Overheating: When cooking the custard, be careful not to boil it; this can curdle the eggs and ruin your ice cream’s texture.
- Room Temperature Ingredients: Make sure your eggs are at room temperature as this helps them blend more easily and creates a smoother custard.
- Adjusting Sweetness: Taste your mixture before churning; depending on your chocolate, you might find you want a little more sugar.
- Add-Ins Galore: Feel free to mix in some chocolate chips or nuts during the last few minutes of churning for added texture.
- Homemade Cones: If you’re feeling adventurous, try making your own waffle cones for serving—it elevates the experience!
Indulging in a bowl of homemade chocolate ice cream is not just about that rich, decadent flavor; it’s about the memories created during the process, the delight of sitting down to enjoy it, and sharing it with loved ones. This recipe is incredibly versatile, allowing you to adjust the sweetness or even make it dairy-free. I encourage you to experiment a bit or even get creative with your own add-ins. Enjoy every scoop!
Recipe FAQs
How long does it take to make chocolate ice cream?
Making homemade chocolate ice cream generally takes around 1 to 2 hours of actual work, plus a minimum of 4 hours chilling time. So don’t forget to plan ahead a bit!
Can I make this ice cream without an ice cream maker?
Yes! You can pour the blended mixture into a deep freezer-safe dish and stir every 30 minutes until it reaches a creamy consistency. It may take a bit longer, but you can still enjoy delicious homemade ice cream.
What’s the best way to serve chocolate ice cream?
This chocolate ice cream pairs wonderfully with homemade waffle cones, as well as toppings like sprinkles, whipped cream, or extra hot fudge. Get creative and make it your own!
Can I substitute any of the ingredients?
Absolutely! You can use whole milk instead of heavy cream for a lighter version, or opt for non-dairy milk and cream substitutes to make it vegan. Just keep in mind that flavors and textures may vary slightly.
Print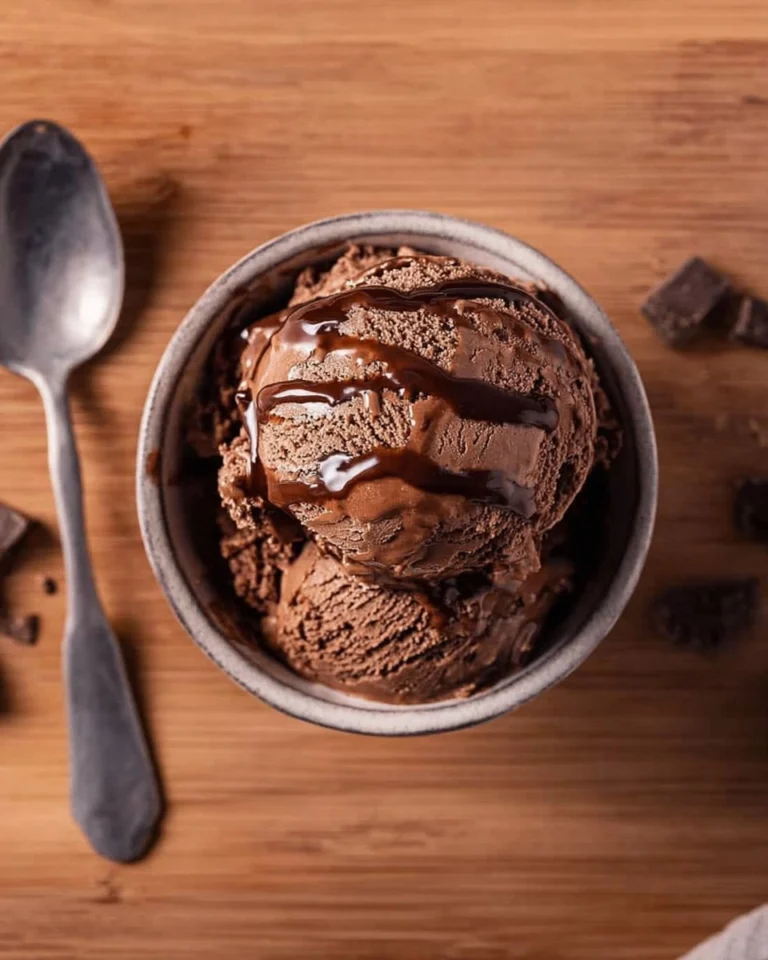
Chocolate Ice Cream
This Chocolate Ice Cream stands out with its rich, creamy texture and deep chocolate flavor. Made with quality ingredients like heavy cream and dark chocolate, it’s a delightful treat for any occasion. Perfect for dessert lovers seeking a simple, homemade recipe.
- Total Time: 1 hour
- Yield: 12 servings 1x
Ingredients
- 1½ cups heavy cream
- 1½ cups whole milk
- ½ cup granulated sugar
- 3 tablespoons cocoa powder
- 2 tablespoons light corn syrup
- 1/4 teaspoon fine sea salt
- 4 large egg yolks
- 1 tablespoon vanilla extract
- 4 oz dark chocolate, chopped
- ½ cup hot fudge sauce
Instructions
- In a medium saucepan, combine the cream, milk, sugar, cocoa powder, corn syrup, and salt. Heat over medium, stirring occasionally, until steaming but not boiling.
- In a separate bowl, beat the egg yolks until smooth.
- In another bowl, add the chopped chocolate and pour a ladleful of hot milk over it. Let it melt.
- Slowly drizzle a ladleful of hot milk mixture into the yolks while whisking constantly. Repeat until the yolks are warmed, then pour back into the saucepan. Heat until slightly thickened, ensuring it doesn’t boil.
- Stir in melted chocolate and vanilla extract. Strain the mixture through a fine-mesh sieve into a clean container.
- Chill in the refrigerator for at least 4 hours, or preferably overnight.
- Churn the cooled custard in an ice cream maker as per the manufacturer’s instructions.
- Transfer half of the mixture to an ice cream container. Spoon warmed fudge sauce into a line on top, swirl gently, add remaining ice cream, and drizzle fudge on top. Freeze for at least 4 hours until firm.
Notes
Using high-quality chocolate enhances the flavor.
For a creamier texture, allow the mix to chill overnight before churning.
Serve in waffle cones for an extra treat.
- Prep Time: 30 minutes
- Cook Time: 30 minutes
- Category: Desserts
- Method: Churning
- Cuisine: American
Nutrition
- Serving Size: 1/2 cup
- Calories: 250
- Sugar: 19g
- Sodium: 60mg
- Fat: 16g
- Saturated Fat: 10g
- Unsaturated Fat: 6g
- Trans Fat: 0g
- Carbohydrates: 23g
- Fiber: 1g
- Protein: 3g
- Cholesterol: 130mg