
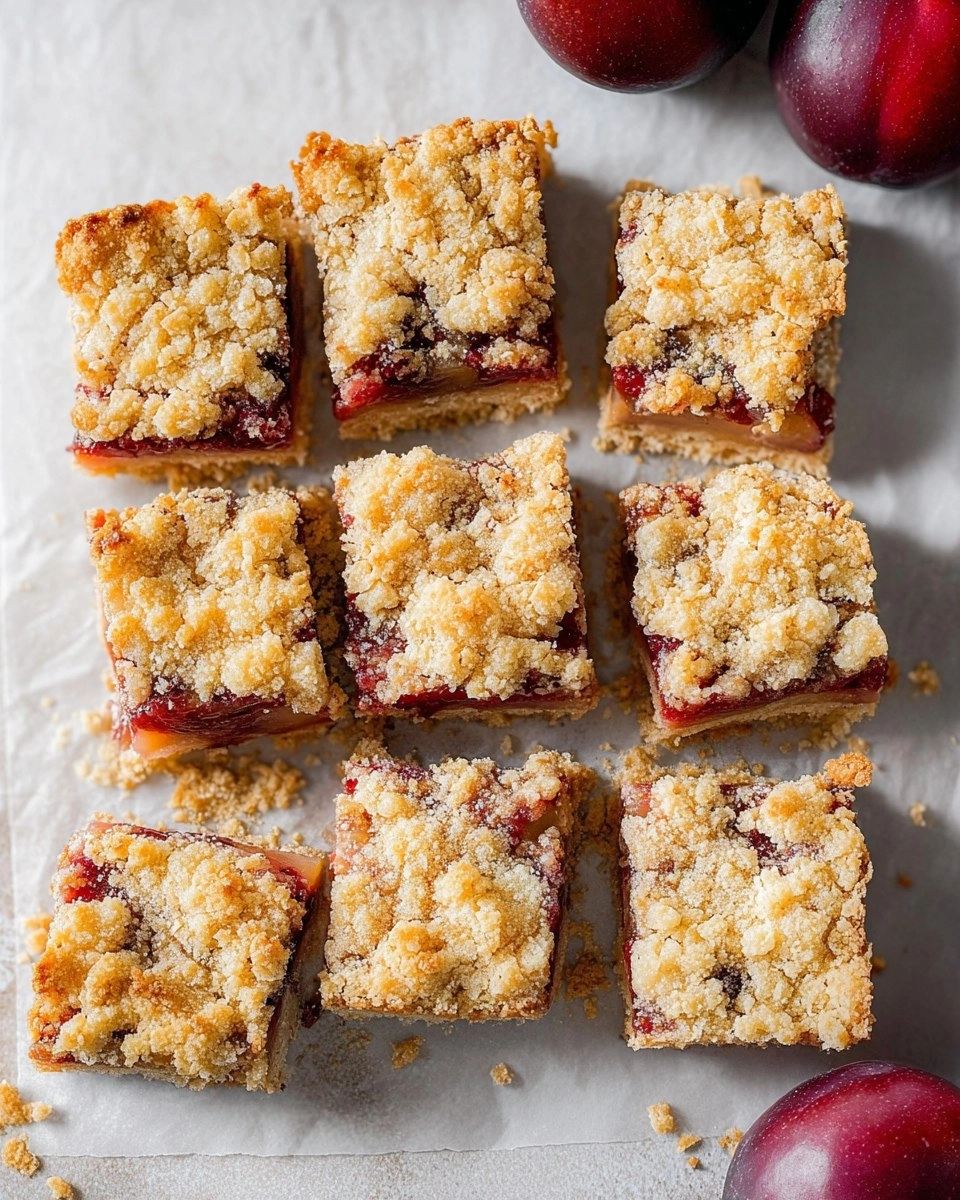
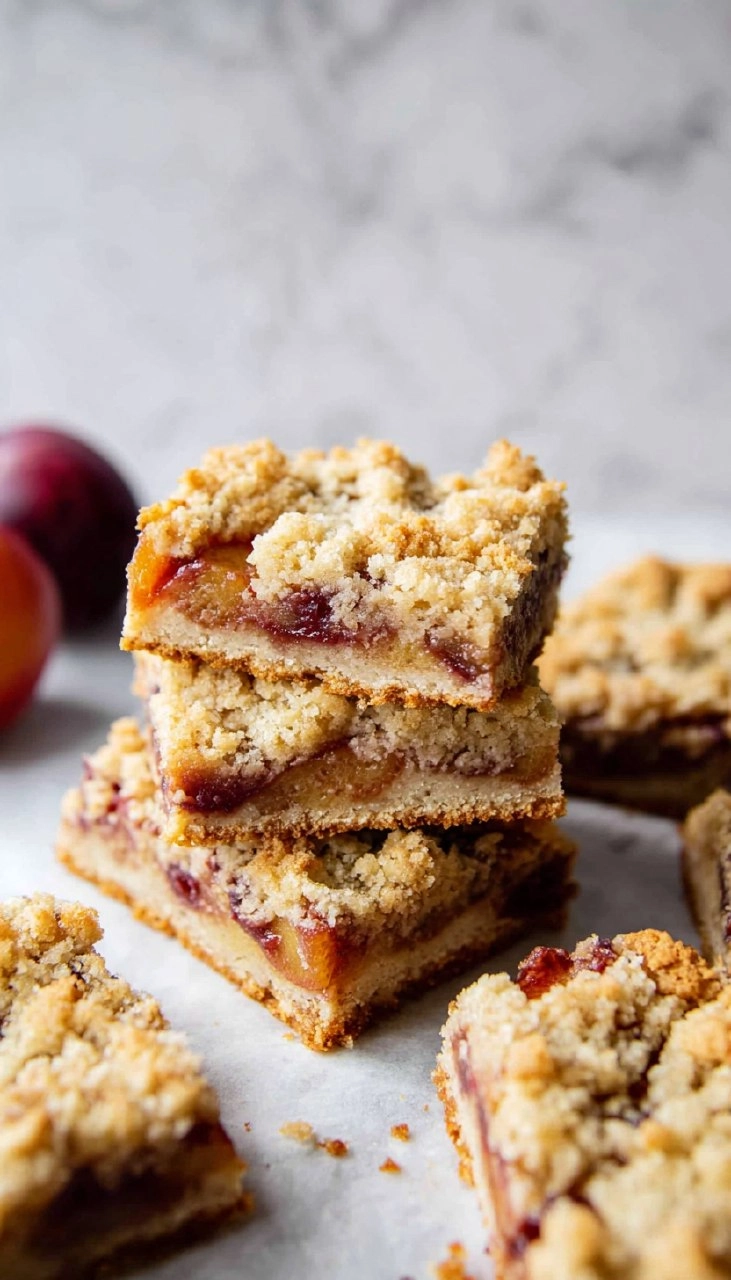
Plum bars are a delightful treat that make use of sweet, juicy plums nestled in a buttery, crumbly crust. There’s something uniquely satisfying about the way the tangy fruit pairs with the sweet dough. With every bite, you experience the perfect balance of tart and sweet, creating a flavor explosion that is both comforting and refreshing.
I first stumbled upon plum bars during a summer picnic, where a friend brought a delectable batch. The moment I tasted them, I was hooked. Plums, particularly when ripe, add a juiciness to baked goods that’s hard to replicate. It’s not just their flavor that captivates; the golden crust and inviting aroma as they bake makes these bars a joy to prepare. Plus, they’re easy to make, budget-friendly, and are a crowd-pleaser—making them a perfect addition to any gathering. Trust me, you’re going to want to whip up a batch!
Why You’ll Love This Recipe
- Simple & Quick: These bars are a breeze to make, taking just about an hour from start to finish.
- Irresistible Flavor: The sweet and tangy notes of the ripe plums combined with the buttery crust are magic in your mouth.
- Eye-Catching Appeal: Their golden-brown top and vibrant plum filling make them visually stunning.
- Flexible Serving: Perfect for dessert, an afternoon snack, or even breakfast on the go!
- Diet-Friendly Options: Easily adapted for gluten-free baking with the right flour substitute.
Ingredients You’ll Need
- 1 ¾ cup all-purpose flour: This serves as the base for your crust. Be sure to use regular all-purpose to get the right texture.
- ⅔ cup sugar: A crucial sweetener that balances the tartness of the plums while enhancing the crust’s flavor.
- ½ tsp baking powder: This helps the crust rise slightly, providing a tender, cake-like texture.
- ¼ tsp salt: A little pinch elevates the flavor of your bars, making the sweet taste pop.
- ½ cup butter, cold: Cold butter is essential for a flaky crust; don’t skip this!
- 1 egg, whisked: This binds your ingredients and adds richness to the crust.
- 2 tbsp milk: A little milk helps to moisten the dough and achieve the desired consistency.
- 4 plums, diced small: Fresh, ripe plums are the star here—look for ones that are firm yet slightly yielding to the touch.
- ¼ cup sugar: This is for sweetening the plums, as they can be a bit tart depending on ripeness.
- 2 tbsp all-purpose flour: This helps absorb the juices from the plums, preventing a soggy bar.
- ½ tsp vanilla extract: A splash of vanilla enhances the overall flavor of the bars.
How to Make Plum Bars
- Preheat Your Oven: Start by preheating your oven to 400° F (200° C). Meanwhile, line an 8×8 baking dish with parchment paper for easier removal later.
- Make the Crust Mixture: In a large bowl, combine 1 ¾ cup all-purpose flour, ⅔ cup sugar, ½ tsp baking powder, and ¼ tsp salt. Using a cheese grater, grate the cold butter directly into the bowl. Mix with your hands until the butter resembles small pebbles.
- Combine Wet Ingredients: Add in the whisked egg and 2 tablespoons of milk to the mixture. Stir until just combined, being careful not to overmix.
- Prepare the Plum Filling: In a separate medium bowl, add the diced plums, ¼ cup sugar, 2 tablespoons all-purpose flour, and ½ tsp vanilla extract. Stir until the plums are well-coated.
- Layer the Crust: Take ⅔ of the crust mixture and press it down evenly in the prepared baking pan to form the base.
- Add the Plum Mixture: Spoon the plum filling over the crust, spreading it out evenly.
- Top with Remaining Crust: Sprinkle the remaining crust mixture over the top of the plums to create a delicious topping.
- Bake: Place the pan in your preheated oven and bake for 30-32 minutes, or until the edges are golden brown and fragrant.
- Cool and Slice: Once baked, remove the pan and allow the bars to cool to room temperature before slicing.
Storing & Reheating
To store your plum bars, keep them in an airtight container at room temperature for up to two days. If you need to keep them longer, transfer them to the refrigerator, where they’ll stay fresh for about a week. For longer storage, freezing works well too—simply wrap them tightly in plastic wrap and foil, and they can last for up to three months. When you’re ready to enjoy them, pop them in a preheated oven at 350° F for about 10 minutes to refresh their texture.
Chef’s Helpful Tips
- Ensure your butter is truly cold before grating; this helps achieve that flaky texture.
- Watch the baking time closely; each oven may vary slightly, so keep an eye on those edges!
- For a deeper flavor, consider adding a bit of cinnamon to the plum mixture.
- If your plums are on the tart side, don’t hesitate to increase the sugar slightly in the filling.
- This recipe can be easily adapted for gluten-free diets using a cup-for-cup gluten-free flour blend.
There’s something so heartwarming about a tray of golden-brown plum bars cooling on the countertop. Whether you’re enjoying them warm with a scoop of vanilla ice cream or serving them at a gathering, these bars are bound to impress. They’re easy enough to make on a whim yet fancy enough for special occasions, beckoning you to indulge in a sweet, juicy bite. Don’t be surprised if they disappear in no time!
Recipe FAQs
Can I use other fruits instead of plums?
Absolutely! While plums are the star of this recipe, you can easily substitute them with peaches, apricots, or even berries, depending on what you have on hand or your personal taste.
How can I make these bars gluten-free?
For a gluten-free version, use a cup-for-cup gluten-free flour blend in place of regular all-purpose flour. The texture may vary slightly, but the flavor will still be delicious!
What’s the best way to tell if my bars are done baking?
Your plum bars are ready to come out of the oven when the edges are golden brown and the filling is bubbling slightly. A toothpick inserted into the center should come out clean or with a few moist crumbs.
Can I make this recipe ahead of time?
Definitely! You can prepare the bars a day in advance and keep them refrigerated. They can also be frozen for up to three months, making them a great make-ahead dessert option for busy times.
Print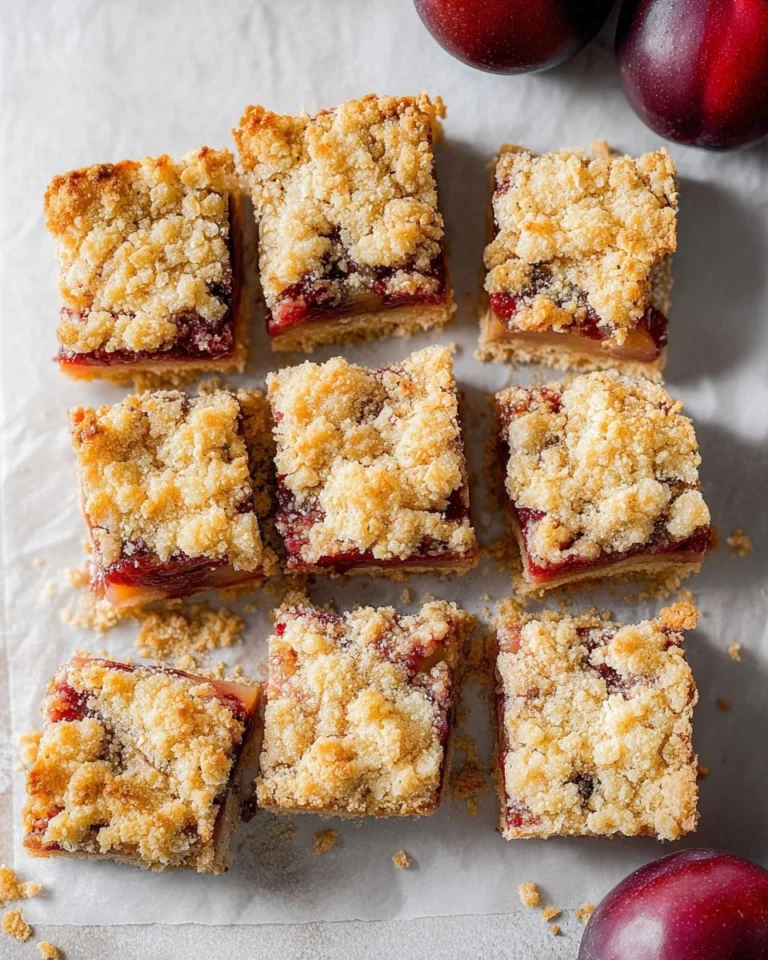
Plum Bars
These Plum Bars offer a delightful blend of sweet and tart flavors, thanks to the juicy plums and buttery crust. Perfect for a quick dessert that feels indulgent without the fuss.
- Total Time: 47 minutes
- Yield: 9 servings 1x
Ingredients
- 1 ¾ cup all purpose flour
- ⅔ cup sugar
- ½ tsp baking powder
- ¼ tsp salt
- ½ cup butter, cold
- 1 egg, whisked
- 2 tbsp milk
- 4 plums, diced small
- ¼ cup sugar
- 2 tbsp all purpose flour
- ½ tsp vanilla extract
Instructions
- Preheat your oven to 400° F and line an 8×8 baking dish with parchment paper.
- In a large bowl, mix together the flour, sugar, baking powder, and salt. Grate the cold butter directly into the bowl using a cheese grater.
- Combine the ingredients by hand until the butter resembles small pebbles. Add the whisked egg and milk, stirring until well combined.
- In a separate medium bowl, combine the diced plums, additional sugar, flour, and vanilla extract, mixing gently.
- Press ⅔ of the crust mixture into the bottom of the lined baking dish to form the base.
- Pour the plum mixture evenly over the crust in the baking dish. Sprinkle the remaining crust mixture over the top.
- Bake in the preheated oven for 30-32 minutes or until the edges are golden brown. Allow to cool, slice, and serve.
Notes
For a twist, consider adding a sprinkle of cinnamon to the plum filling.
These bars can be stored in an airtight container for up to 3 days.
Serve with a scoop of vanilla ice cream for an extra treat.
- Prep Time: 15 minutes
- Cook Time: 32 minutes
- Category: Desserts
- Method: Baking
- Cuisine: American
Nutrition
- Serving Size: 1 bar
- Calories: 180
- Sugar: 10g
- Sodium: 40mg
- Fat: 8g
- Saturated Fat: 5g
- Unsaturated Fat: 3g
- Trans Fat: 0g
- Carbohydrates: 25g
- Fiber: 1g
- Protein: 2g
- Cholesterol: 20mg